Query Designer
Query designer is used to create custom queires per organization. Query templates are frequently created and saved as a base template with most of the query written to show as read only text. The creator can then add open fields for the end user to add additional questions to the base query template.
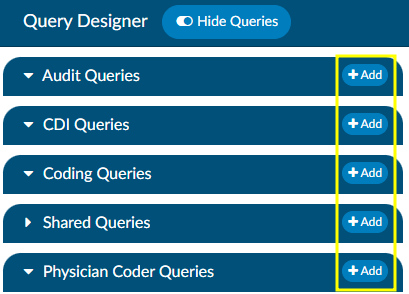
Access to queries can be restricted by user role:
- Audit
- CDI
- Coding
- Physician Coder
Alternatively, queires can be shared. A Shared Query can be utilized by Auditors, CDI Specialists, and Coders.
Creating a Query
To add a query, simply click on the +Add button in the desired section.
A blank template will appear on screen. The first step is to enter a unique a document name. Each query must have a unique name for reporting purposes. A document name must exist before the template can be saved.
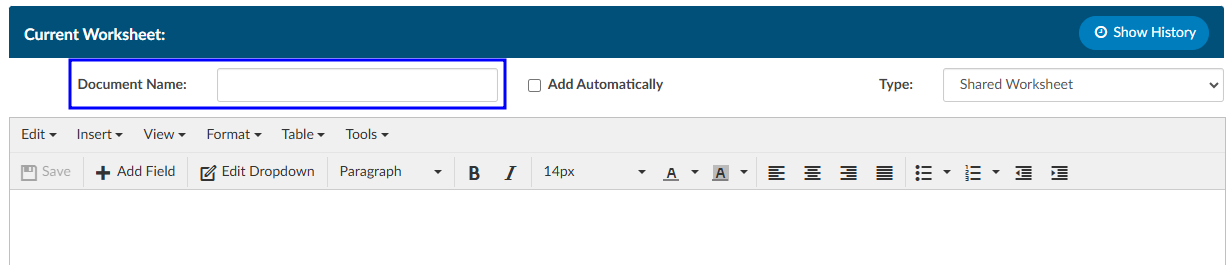
Once a query name has been saved, it cannot be edited. To rename an exisitng query, please see the Source Code section below or contact the SME Team (smeteam@dolbey.com).
To start with a document that has already been created, copy the text and paste it into the form designer. Changes to the formatting may be needed once pasted depending on the original document format.
Text copied or typed directly into the query will be read-only for the end user(s) working with the form. This text is often used as labels and to direct users on completing the template.

Adding Fields
Fusion CAC offers several types of fields that can be added to query templates. These fields allow end users to enter information into the query after it has been added to an account.
Add a new field by clicking +Add Field in the template tool menu.

Field Type
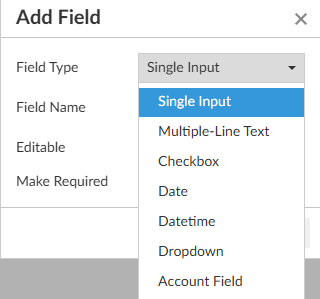
Single Input

A single input field allows the end user to free type text. This field is best used for entering a concise amount of information, such as a name or short series of numbers. The box will grow horizontally as the user types to fit the data entered.
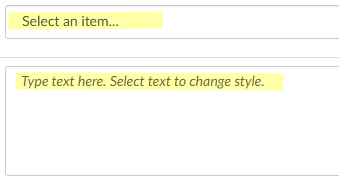
Multiple-Line Text

A multiple-line text field allows the end user to free type text. This field is often used for entering a large amount of information, such as taking notes or providing detailed comments. The box will grow vertically as the user types to fit the data entered.
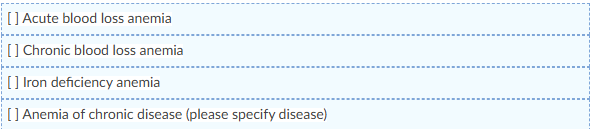
Checkbox
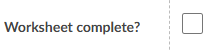
A checkbox allows the end user to indicate certain items are applicable. This field has been used to show that the query is complete or as a way for users to select certain action items.
Date/Datetime
These fields allow the end user to indicate the date and time of a response, test, or other item being tracked.
Dropdown

Dropdown menus allow end users to select from a pre-determined list of options.
After naming and determining who can edit the field, a dialog box will open to set the options in the dropdown menu.

Dropdown items can be edited by pulling up the template in Query Designer and clicking Edit Dropdown in the template tool bar.
Account Field

Account fields will automatically populate information from the account, if it has been sent to Fusion CAC. Auto-populated account information will be displayed in a bolder font to differentiate it from text manually entered by an end user.

Sections
Sections allows end users to customize the query by removing sections as needed from the template or to rearrange the order of information.
Static text and fields can be inserted into a section, however sections cannot be inserted in other sections.
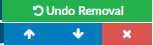
When the query is added to an account, each section will show have arrows so the end user can re-order as needed. Sections will also have a X to remove that section from the query. Once a section has been removed, an undo button will become available to place it back into the query.
Physician
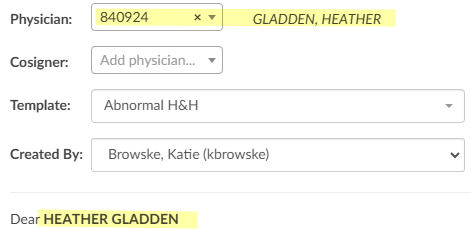
The physician field will auto-populate the name of the physician being sent the query, if the information is available.
Field Name

Each field should have a unique name for reporting purposes.
Field names can repeat across queries, but each field on a query must be unique. If a field name is repeated on a query, whatever is entered into one field will be automatically duplicated into the other fields with the same name on that query.
Make Required

Fields can be made required by checking the box. Leaving the box unchecked means the field is optional and the query can be completed even if that field is left blank.
When a query is added to a chart, required fields will have a light red background to indicate action must be taken. Addiontally, the user will be presented with a red toast message if they try to save the chart without completing all required fields. The toast message will include the fields that need to be completed.

Clicking OK, will add the selected field to the template with the specified settings. A box will then display in Query Designer as a placeholder for the selected field with the field name. The fields are not interactive from Query Designer. Once a query has been added to a chart, the field name will be replaced with instructions for the end user.
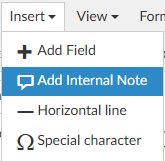
Creating Internal Notes

Internal notes can be added to query templates to provide a note for the end user only from the Insert menu in the template tool menu.
These notes are only displayed for the user filling out the query and is not set to the provider receiving the query. When adding a physician query the user will see the highlighted section in the query when that template is selected.

After sending the query, the internal note will no longer be seen unless the user has the privilege of “Edit Open Queries to Resend” in Role Management.
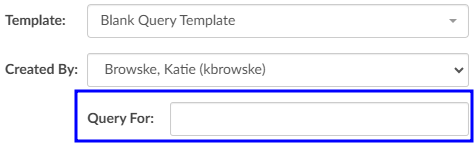
Blank Query Template

If a Physician Query has a document name of “Blank Query Template”, then an additional Add Input For ‘Query For’ field is automatically added for the user to enter plain text when the query is added to an account. This field cannot be removed from the Blank Query Template.
When the end users use this template, they will be presented with a box to free type the query topic.
In the following reports, the Query template column will show “Blank Query Template”: followed by the value for the ”Query For” field:
- Outstanding Queries
- Query Impact by Discharge Date
- Query Impact Report
- Query TAT by Author Report
- Query Template Volume Overview
Verbal Query Template
A verbal query template can be requested through CAC Support (cacsupport@dolbey.com). Scripting logic will be added so that when a template named “VERBAL QUERY” is used, the query will not be sent outbound to the provider.
For accurate reporting on the topics of the query, Dolbey recommends creating a template using the exact name “VERBAL QUERY” and selecting the check box Add Field For ‘Query For’ next to the document name.

When the end users use this template to record the verbal query outcome they will be presented with a box to free type the query topic.
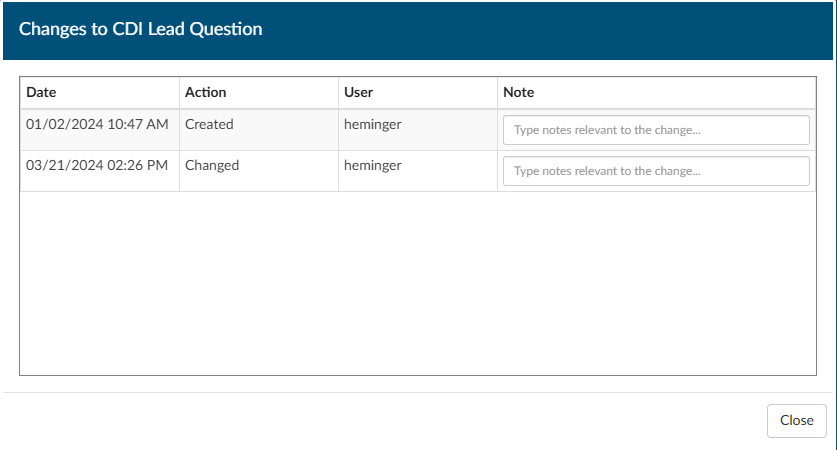
Show History
Query Designer will create a history for changes made to templates in Query Designer. Once a change is made on a template and saved, a Show History will appear in the top right of the query. Clicking on it will bring up a notes box, just like in Workflow Management.

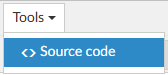
Source Code
The template source code can be found under the Tools menu within the template tool bar. The source code is the programming language that tells the application how to display the query. It may be overwhelming to look through, but can be helpful in making quick edits to queries.
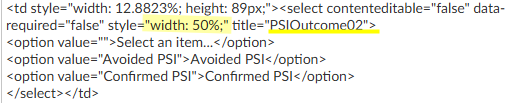
Changing Field Width
By default, fields will take up the full width of the template. The width can be reduced in the source code to best fit formatting needs.
In the example below, the width of the dropdown menu has been modified so that it can be on the same line as a checkbox and a multi-line text box.

This was done by opening the source code, finding the name of the field, and changing the width percentage.
Renaming/Moving a Query
Once a query has been named and saved, the Document Name cannot be edited. This is intentional for accurate reporting. If a query needs to have a new name, the simplest way to change the name is to copy the source code into a new template and give that template the correct name. Copying the source code will bring over the whole body of the query as is, so the only thing that needs to change is the document name.
- In query designer, open the template to be copied/renamed
- Open the template’s source code
- Select all the text in the source code box
- This can be done by clicking and dragging to highlight or with the keyboard shortcut Ctrl + A
- Copy the source code
- This can be done by right-clicking in the highlighted text and choosing copy or with the keyboard shortcut Ctrl + C
- Click Ok to close the source code window
- Add a new query in the desired section
- Open the template’s source code
- Paste the copied source code into the box
- This can be done by right-clicking and choosing paste or with the keyboard shortcut Ctrl + V
- Click Ok
- Enter a new document name and Save
Click the red X button to remove the original query so it can no longer be used. The deleted query will still show up on accounts it was added to prior to being deleted, but users will not be able to add it to new accounts.
This method also allows for an existing queryt to easily be re-catagorized by role.
If you have any questions or would like to walk through editing source code with someone, please reach out to the Dolbey SME team (smeteam@dolbey.com).